

It’s finally here: the most magical time of the year (outside of summer of course)! I’ve always loved the magic of Christmas but having kids of my own has made it even more joyful, and I find myself decorating earlier and earlier each year.
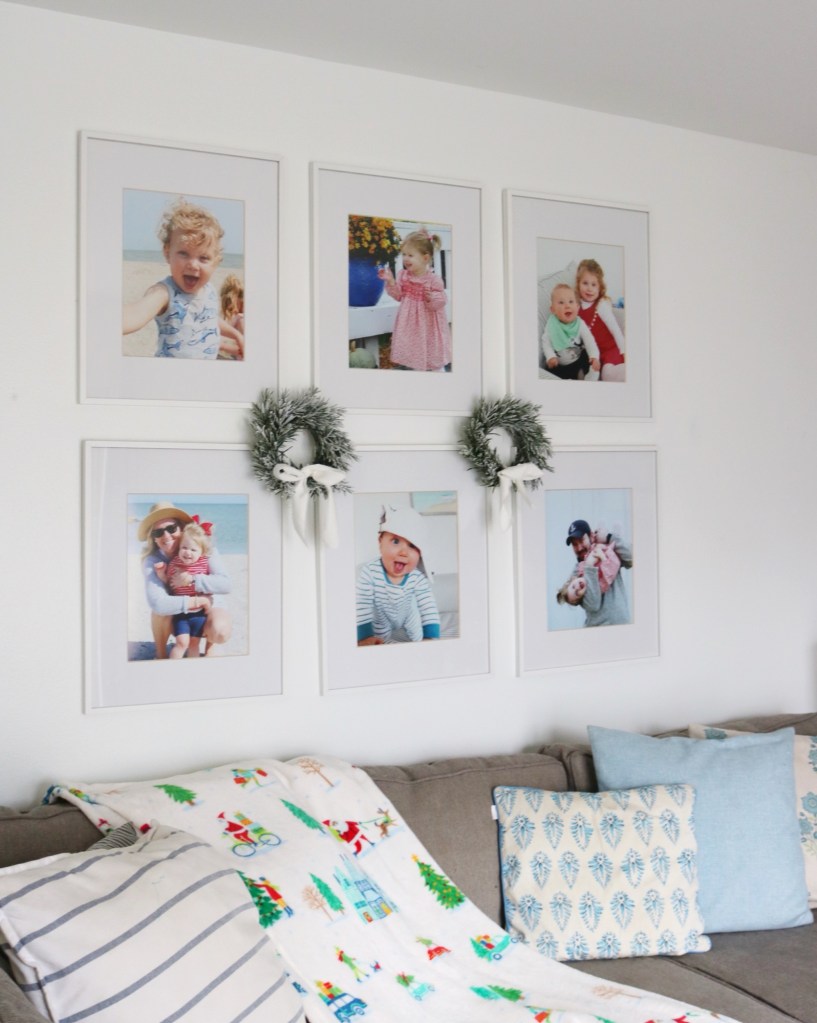
This year I’m keeping my decor really simple and classic. I used to put away my “year round decor” and replace it with Christmas pieces, but honestly, this year I’m keeping out my regular coastal decor and just enhancing each room with wreaths, greenery, and garland. Sometimes I think keeping it simple makes more of an impact.

However, if you love going big for Christmas and love all the Christmas decor, I’ve found some of the best Coastal Christmas styles and I’m here to share my findings with you all!
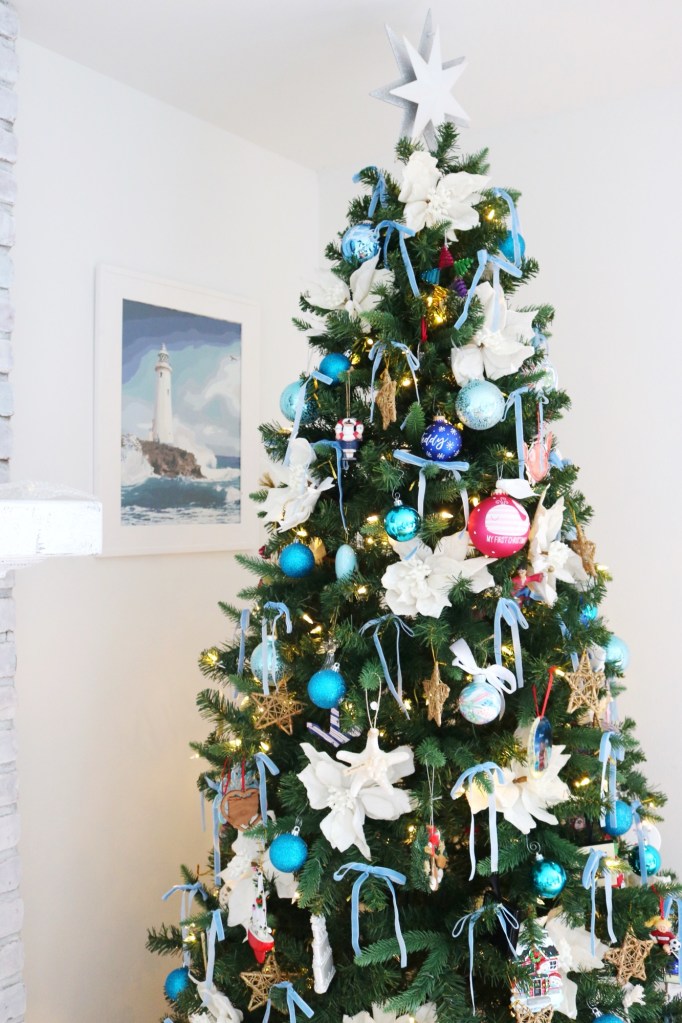
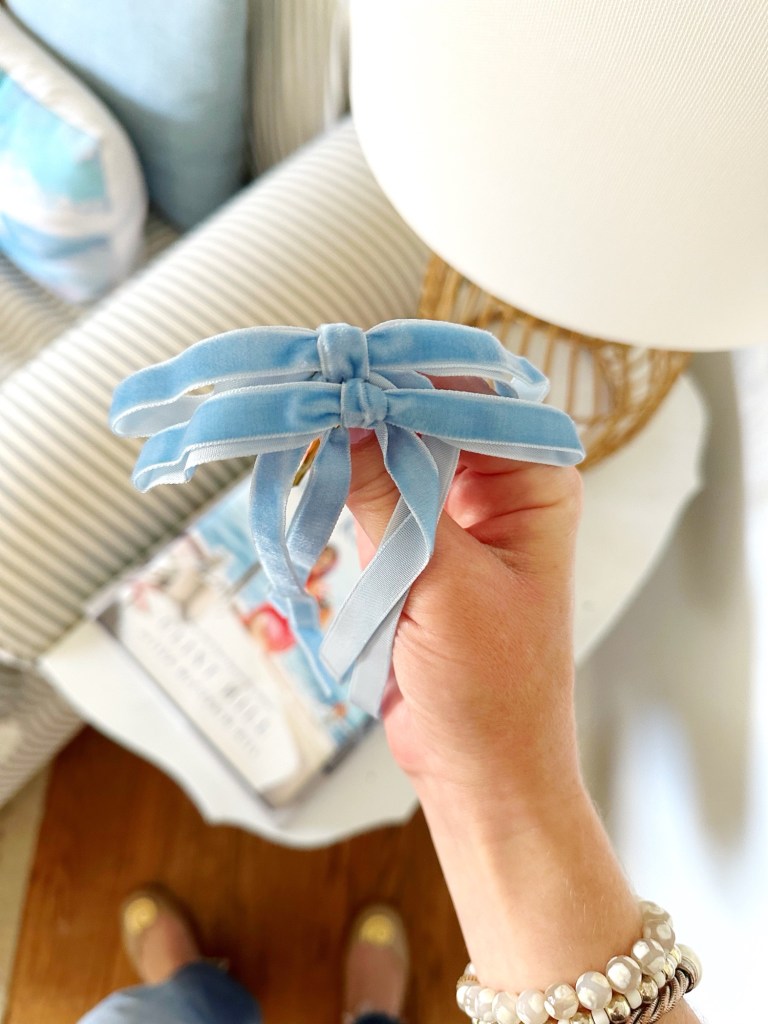
We all know the traditional colors of Christmas are green and red, but those colors don’t tend to vibe with my coastal inspired blue and white home. I have found that decorating for the holidays in a blue and white home doesn’t have to be difficult. If your home is light and bright, then look for wreaths or garland that are sage in color or have a “frosted” look to them. I love to add bows to all my wreaths, usually in white, navy, light blue, or sage green to give them that coastal feel.


Other ways to add a coastal feel to your Christmas decor:
- Choose a rattan or woven Christmas tree skirt;
- Add a rattan star tree topper;
- Opt for miniature trees in shades of white, blue, or light green;
- Seek out nutcrackers, angels, and snowmen that are blue and white or that have a coastal theme to them;
- Add coastal themed ornaments to your tree: starfish, sailboats, shells, anchors, lighthouses, fish, mermaids, etc.


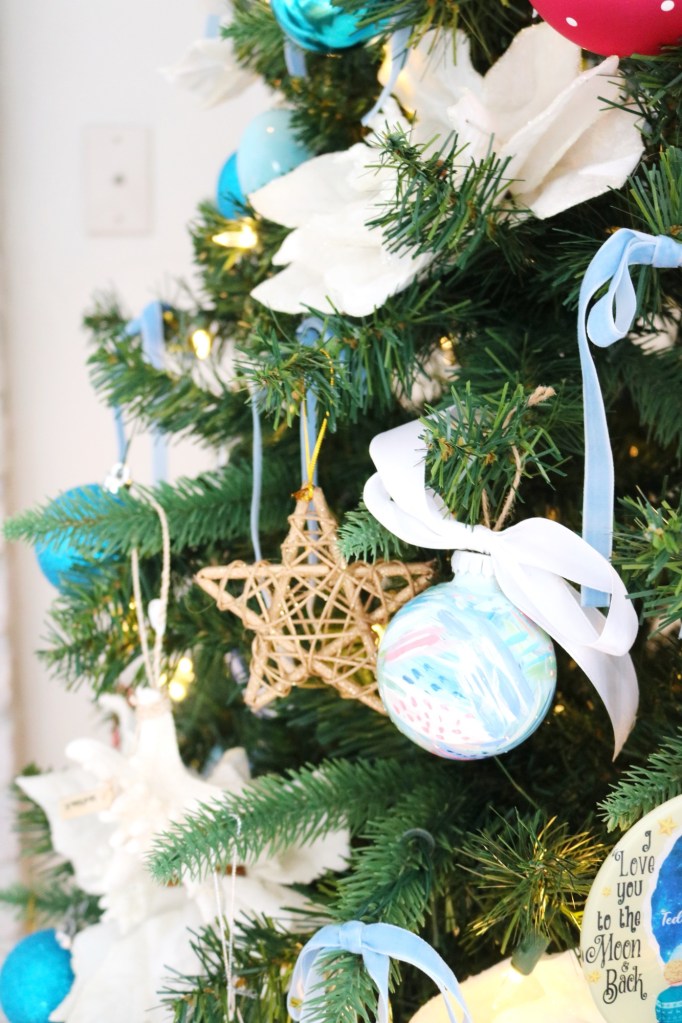
I usually shop for coastal Christmas decor at Target, Hobby Lobby, Pottery Barn, Cailini Coastal, and Jaye’s Studio (Cailini Coastal and Jaye’s are both small businesses!). Perhaps my favorite place to shop for special Christmas decor, like ornaments and wrapping paper, are small businesses, artists, and Etsy. We also pick up a lot of ornaments on our travels around Ohio.
I’ve rounded up some of my favorite decor pieces for this year below. Our tree is really old, like ten years old so it’s not available but I linked a few favorites from Balsam Hill and King of Christmas on my ShopMy page! All of my mini wreaths and garland are from Hobby Lobby!

If you love coastal Christmas decor I hope this post was helpful and gave you some additional ideas! I also love these blue and white pillows from Amazon and this $10 blanket from Target. If you shop anything from Jaye’s Studio be sure to use my special code: SOLT20 for 20% off.
Shop them here.
Happy Holidays! Slainte!
Shannon
