
If you follow me on here or on social media, chances are you might have an interest in coastal living. I’m fortunate to live close to one of the Great Lakes so I’m able to experience a coastal lifestyle, especially in the warmer months. But if you don’t live near the water, there are plenty of ways to embrace the coastal lifestyle and add it into your daily routine. Below are five ways you can embrace the coastal lifestyle in your every day life.
Bring Coastal Details into Your Home
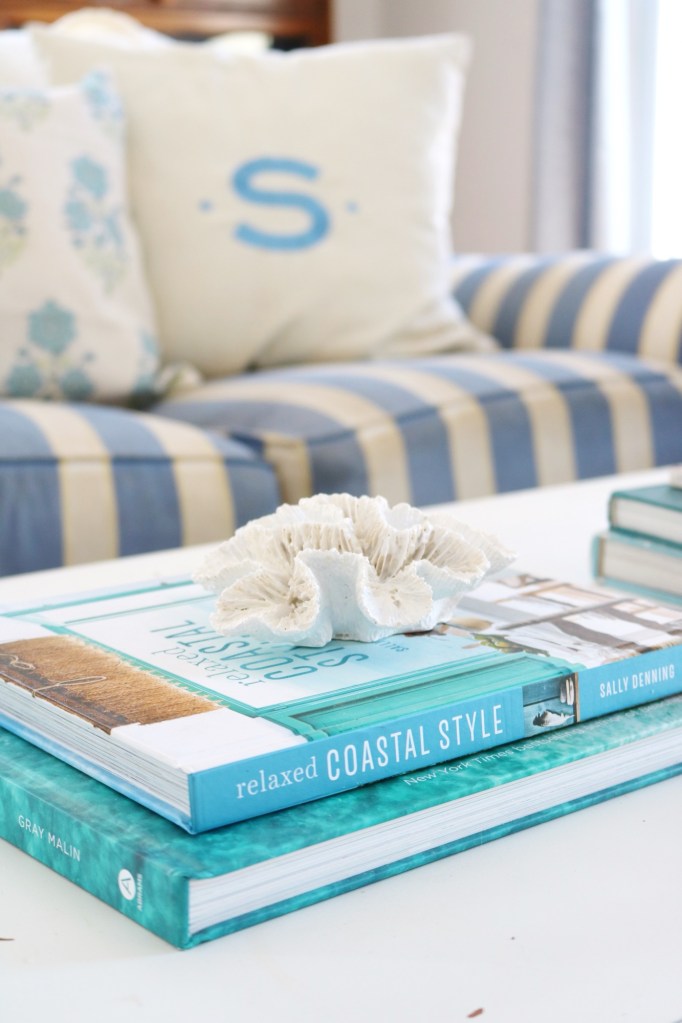
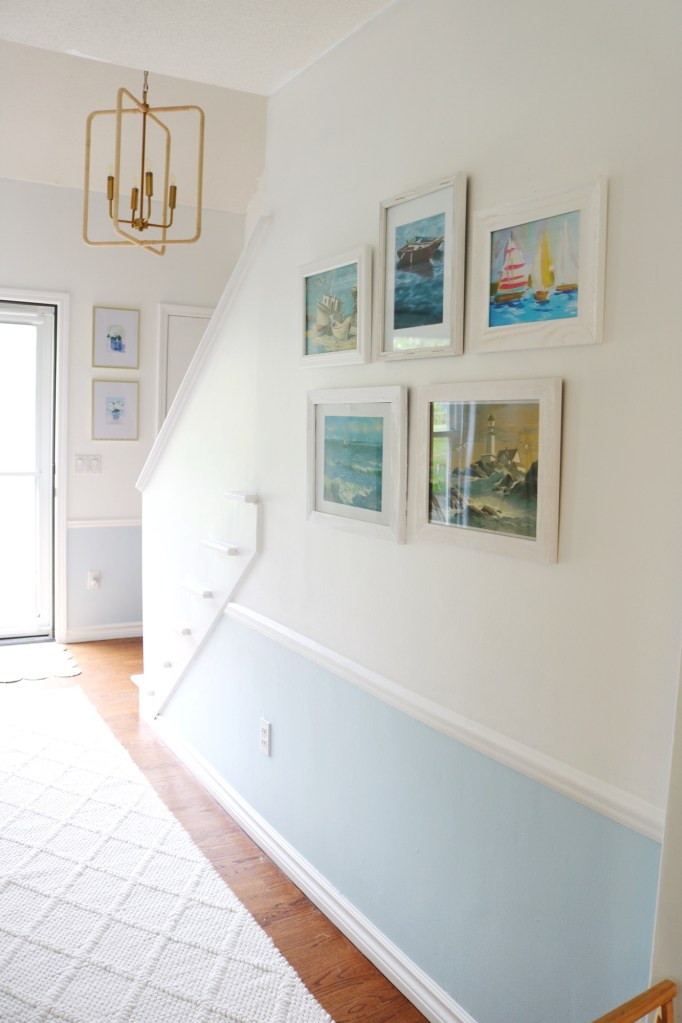
We moved into our home in 2016 and ever since then I’ve been slowly incorporating coastal details into the decor. One of the ways I do this is through paint colors. I tend to opt for a bright, yet calming color palette of blues, whites, and as of most recently light seafoam green. When purchasing or repurposing pieces for our home, I lean towards rattan, linen, jute and woven rugs, and stripes. And if you know me from Instagram, you know I LOVE my coastal art. Social media is an amazing place to find and build relationships with artists who specialize in coastal pieces. And lastly, you can easily add nautical and maritime touches to your home by displaying seashells, coral, nautical maps, coastal coffee table books, anchors, photographs from trips to the beach, and more for a calming coastal vibe.

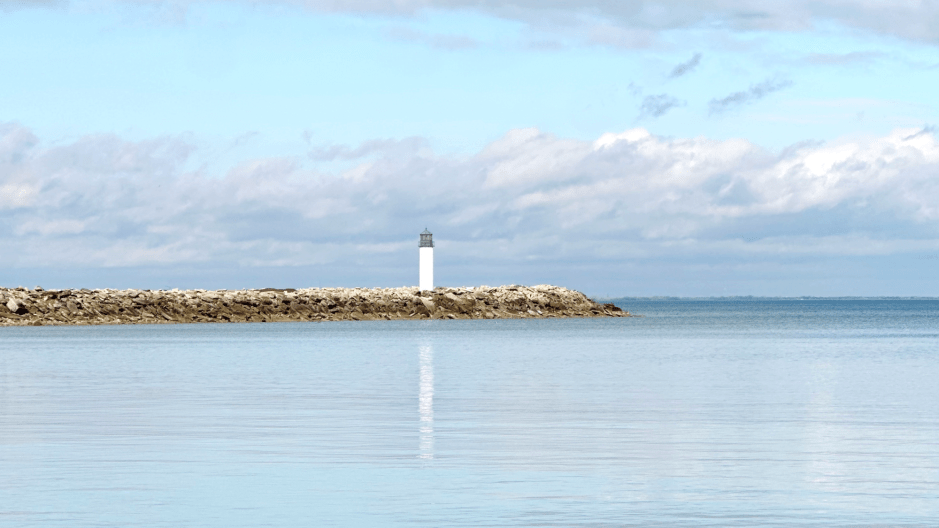
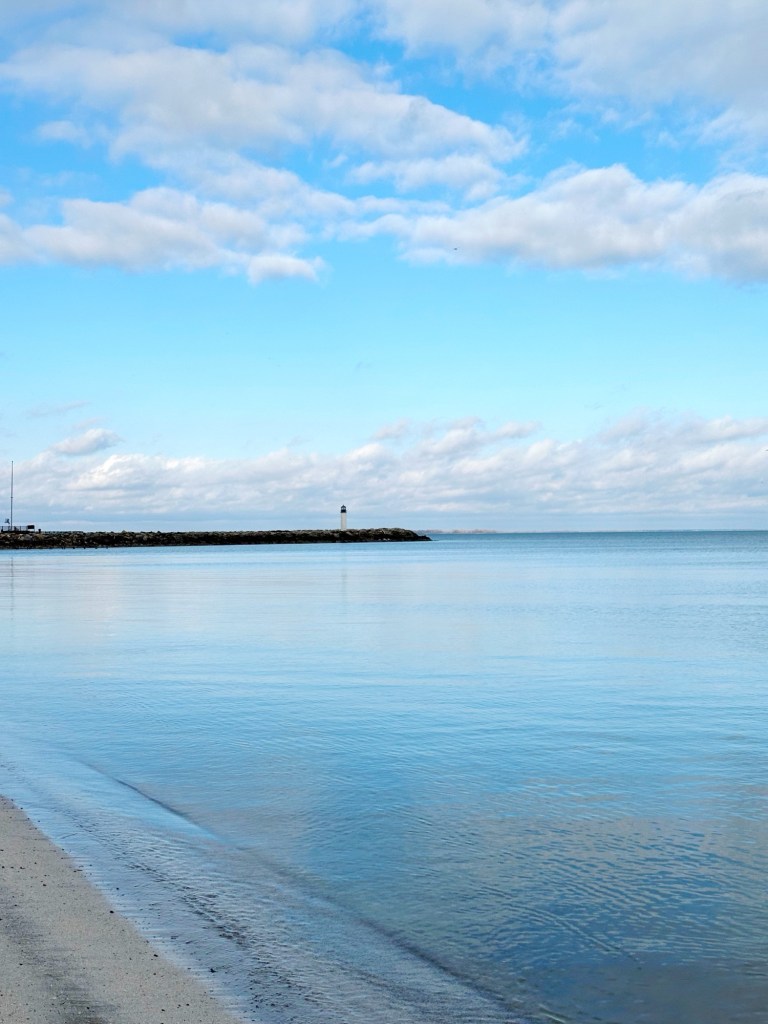
Spend More Time Outside
If you live near the ocean or a lake or any type of body of water (rives and ponds work too!), get outside and enjoy them! Being near any type of water helps to lower anxiety and stress and increase energy and creativity. We live about 25 minutes from Lake Erie, but our little coastal town is situated along a river so any chance I get I head to one of those shores to get my fill of the water.

Adopt Classic Coastal Style
Well now you are in the right place! My fashion style is very classic and coastal. I like to describe my style as New England prep meets Palm Beach prep. On any given day I look like I could be living off the rugged coast of Maine in my striped rain jacket and green Hunter Boots or down south in Palm Beach frolicking in a Lilly Pulitzer shift dress. Whether you prefer the New England coastal look or the Southern coastal look, you can start with adding in more of the following styles to your wardrobe: stripes in all colors (red/white, navy/white, light blue/white, pink/white, green/white), linen pants and shorts, cable knit sweaters, and white denim (I wear mine year round!). I put together some of my favorite classic coastal styles over on my ShopMy page!


Invest in Sustainable and Coastal Practices
There are so many ways you can create a sustainable coastal-inspired life. One way you can do this is by supporting coastal inspired brands and/or brands and artist that value sustainability and protecting our oceans, seas, and lakes. A few of these brands that I love include Erie and Anchor, Quince, Pact, and Faherty. You can also practice eco-friendly practices like using reusable bags, conserving water, or picking up after your pet. Supporting non-profits who value water conservation or participating in a beach clean-up are also great ways to embrace a coastal inspired way of life.
Stay Inspired through Books, Art, and Music
One of my favorite ways of incorporating a coastal lifestyle into my every day is through art, music, beach reads, and coffee table books. I feel fortunate that I’ve made friends with so many talented artists who love painting coastal scenes. So much of the artwork in our home is from these artists. Some of my favorites include Michelle Brunner Art, Lauri Prins, Susan Richards Art, Laurie Duncan Art, and Becky Guenther Art. If art isn’t your thing but you love to read, then head to the library and stock up on all the beach reads! I personally love books by Beatriz Williams, Elin Hildebrand, and Carley Fortune. I’m also such a sucker for coastal inspired coffee table books. A few of my favorites are Coastal by Gray Malin, Coastal Blues by Sally Hayden, and Relaxed Coastal Style by Sally Denning. You can also enjoy some beach inspired music by listening to genres like reggae or ocean music. Sometimes we’ll turn on Jimmy Buffet just to feel like we are on a tropical beach!

And that about sums it up. If you are interested in the coastal lifestyle I find these are easy ways to incorporate it into your daily life. And if you are ready to transform your home and wardrobe, remember those things will take time! I’ve been building a coastal classic wardrobe for 15 years and we’ve been working on our home since 2016! Be sure to share how you incorporate the coastal way of life into your every day!
Slainte,
Shannon
