
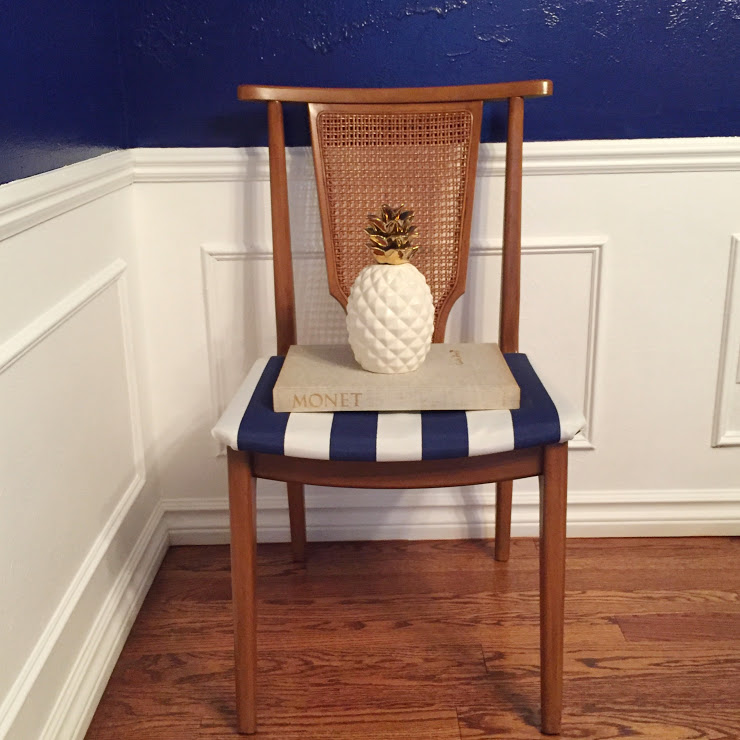
As we update our dining room, we have decided it is time our dining room set receives some attention. Our dining room table set is actually a vintage hand-me-down. Rob’s grandparents bought this solid cherry wood set circa 1960s/1970s from Davis Cabinet. It was later passed down to Rob’s parents who used it while Rob was growing up, and has since been passed on to us!
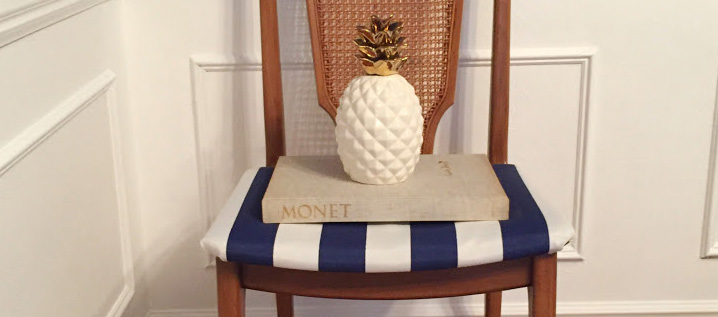
Since we have decided on a completely different color scheme than the dining room has previously been, the pattern on our chairs isn’t going to match anymore. I wanted the whole look and feel of the dining room to be fresh and classic – hence why I chose navy and white. I researched all different sorts of blue and white fabrics but in the end decided I wanted clean, classic stripes. I ended up finding the upholstery fabric at JoAnn Fabrics. I love the feel and look of it – it’s really durable and thick, which is a good sign it will hold up nicely. Plus it was on sale, bonus!
I thought it would take me a long time to re-cover the chairs but it really took no time at all! I’ve include a quick and easy how to re-upholster dining room chairs below.


Re-Upholstering Dining Room Chairs
Materials Needed
Fabric, Staple Gun, Sewing Scissors, Drill
- Detach the chair seat from the frame (may need the drill for this).
- Measure around the diameter of the seat. Determine how much fabric you will need for all the chairs. Our seats were 26” by 24” around. I ordered two yards of fabric just to be safe.
- Cut the fabric into squares (based upon your measurements).

- Lay the chair seat in the middle of the square of fabric. I found it easiest to staple the sides down first. After you do the sides, tuck in the corners and staple those down. It’s tricky getting the corners to lay flat but if you keep working with the fabric they will eventually lay nicely.

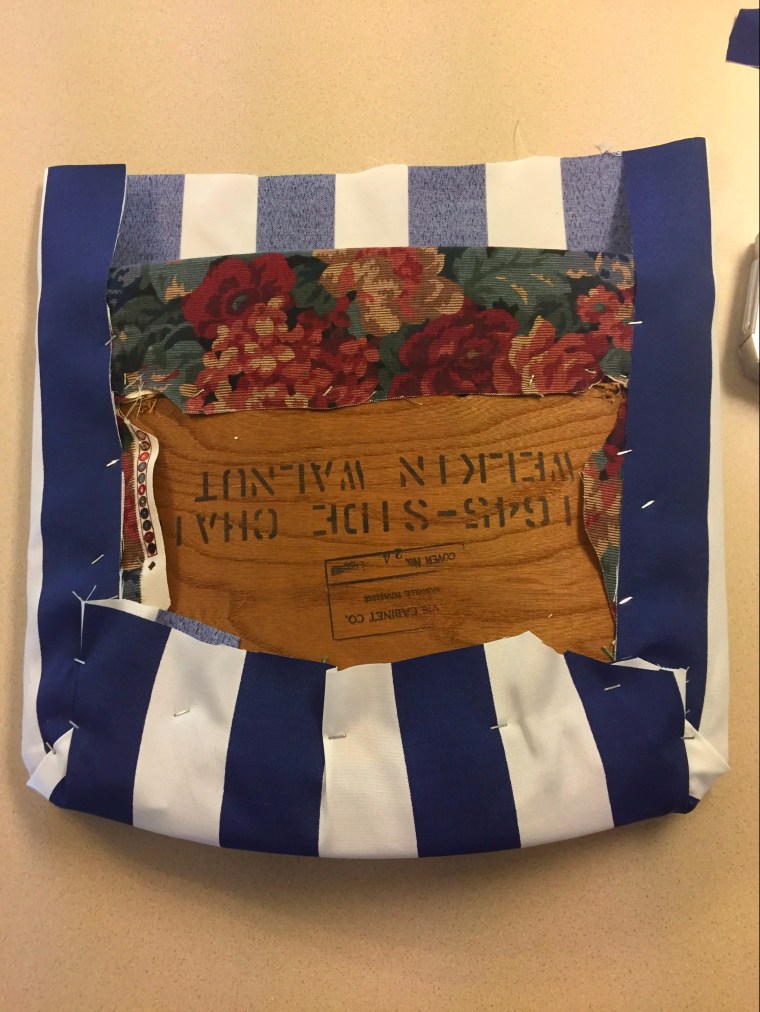
- Once you have all the seats covered, re-attach them to the chair frames and spray with Scotchguard. This makes it easier to clean the chairs if you have any spillage in the future.

It’s as easy as that! Some people add in extra padding or foam before they re-upholster. There are probably fancier and more professional ways to do this, but I wanted to DIY and this proved to be the easiest method for me.

Thanks for all the support and for stopping by A Dash of Solt!
Slàinte,
Shannon

Cute dining room redo!
LikeLiked by 1 person
Thank you Mrs. Aubry!!
LikeLike
Love your Dining Room!
LikeLiked by 1 person